


Four Months Old at a Seattle Hotel
Like Money Diaries but for traveling with an infant, part 1

A series of reviews for every hotel and Airbnb we stayed in during my daughter’s first year of life. How was the lodging set up to accommodate a baby? What were the important things to consider at each age, in each location? I’ll share my exact packing list which you can copy & edit as well as notes on what was useful to pack, and what was not.
Today, we bring a four month old to Seattle.
THE BASICS
Child’s Age: Four months
Food Status: Pumping & nursing
Bathroom Status: Diapers
Trip Location: Seattle, Washington
Reason for Trip: Attend a wedding
Trip Length: Four nights
Transportation: 3 hour flight from LAX-SEA (lap infant) + rental car in Seattle
Lodging: The Thompson Hotel Downtown
Room: King Room with Courtyard Views: Working Desk: One King Bed: Rainfall Shower. $327/night, including taxes and fees
Carry On Luggage: 1x small crossbody bag, 1x backpack, 1x pump bag, 1x milk bag, 1x diaper bag, 1x travel stroller
Checked Luggage: 1x car seat bag, 1x large Away bag, 1x travel crib
See the 0-6 month old packing list for links to everything we traveled with.
THE LOCATION
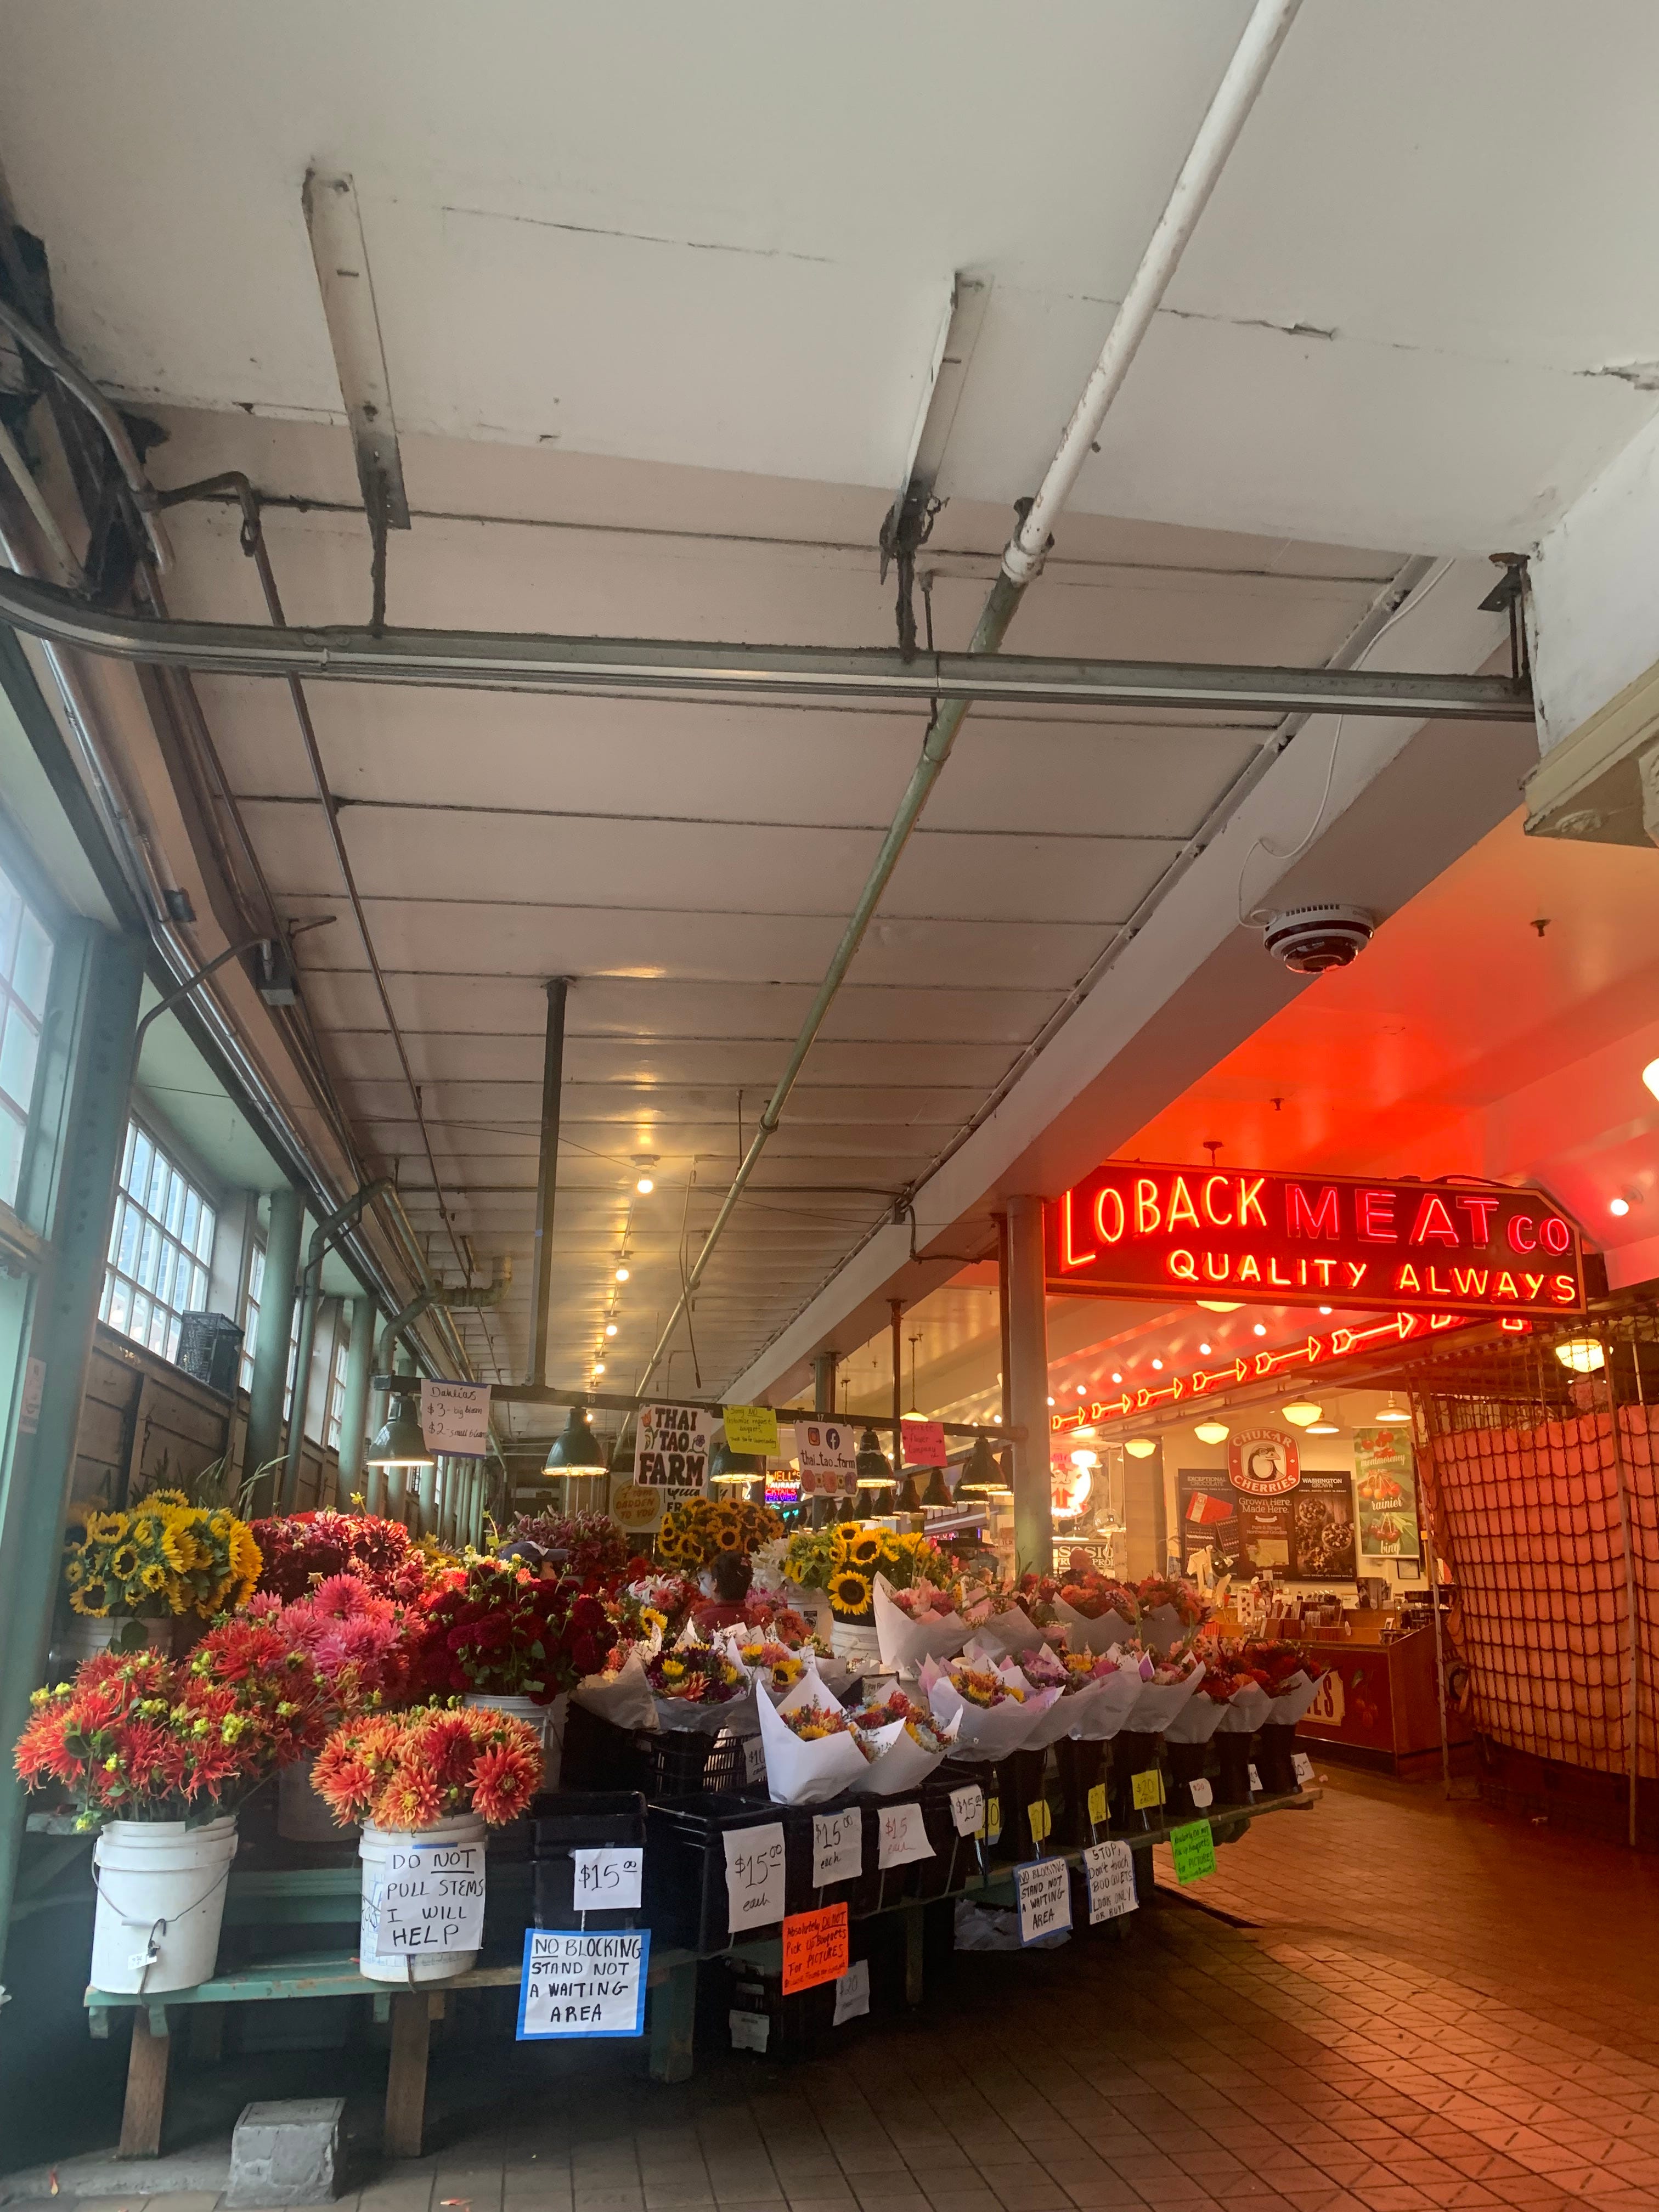
The Thompson Hotel is located centrally in Downtown Seattle. It’s highly walkable, within a few minutes of Pike Place Market and the surrounding shopping areas for easily accessible food, coffee and waterfront views.
This made it convenient for taking walks to grab food as well as for the emergency Target run we needed to buy a plastic bin. A small but important overlooked detail: we needed a vessel to hold all of the used bottles and pump parts in the hotel room.
Seattle is a hilly city so I ended up using the baby carrier more often than the stroller. We only brought the stroller out to sit-down meals so that we would have a place to put the baby while we ate, being that she was too young and too small for a high chair at four months.
THE HOTEL
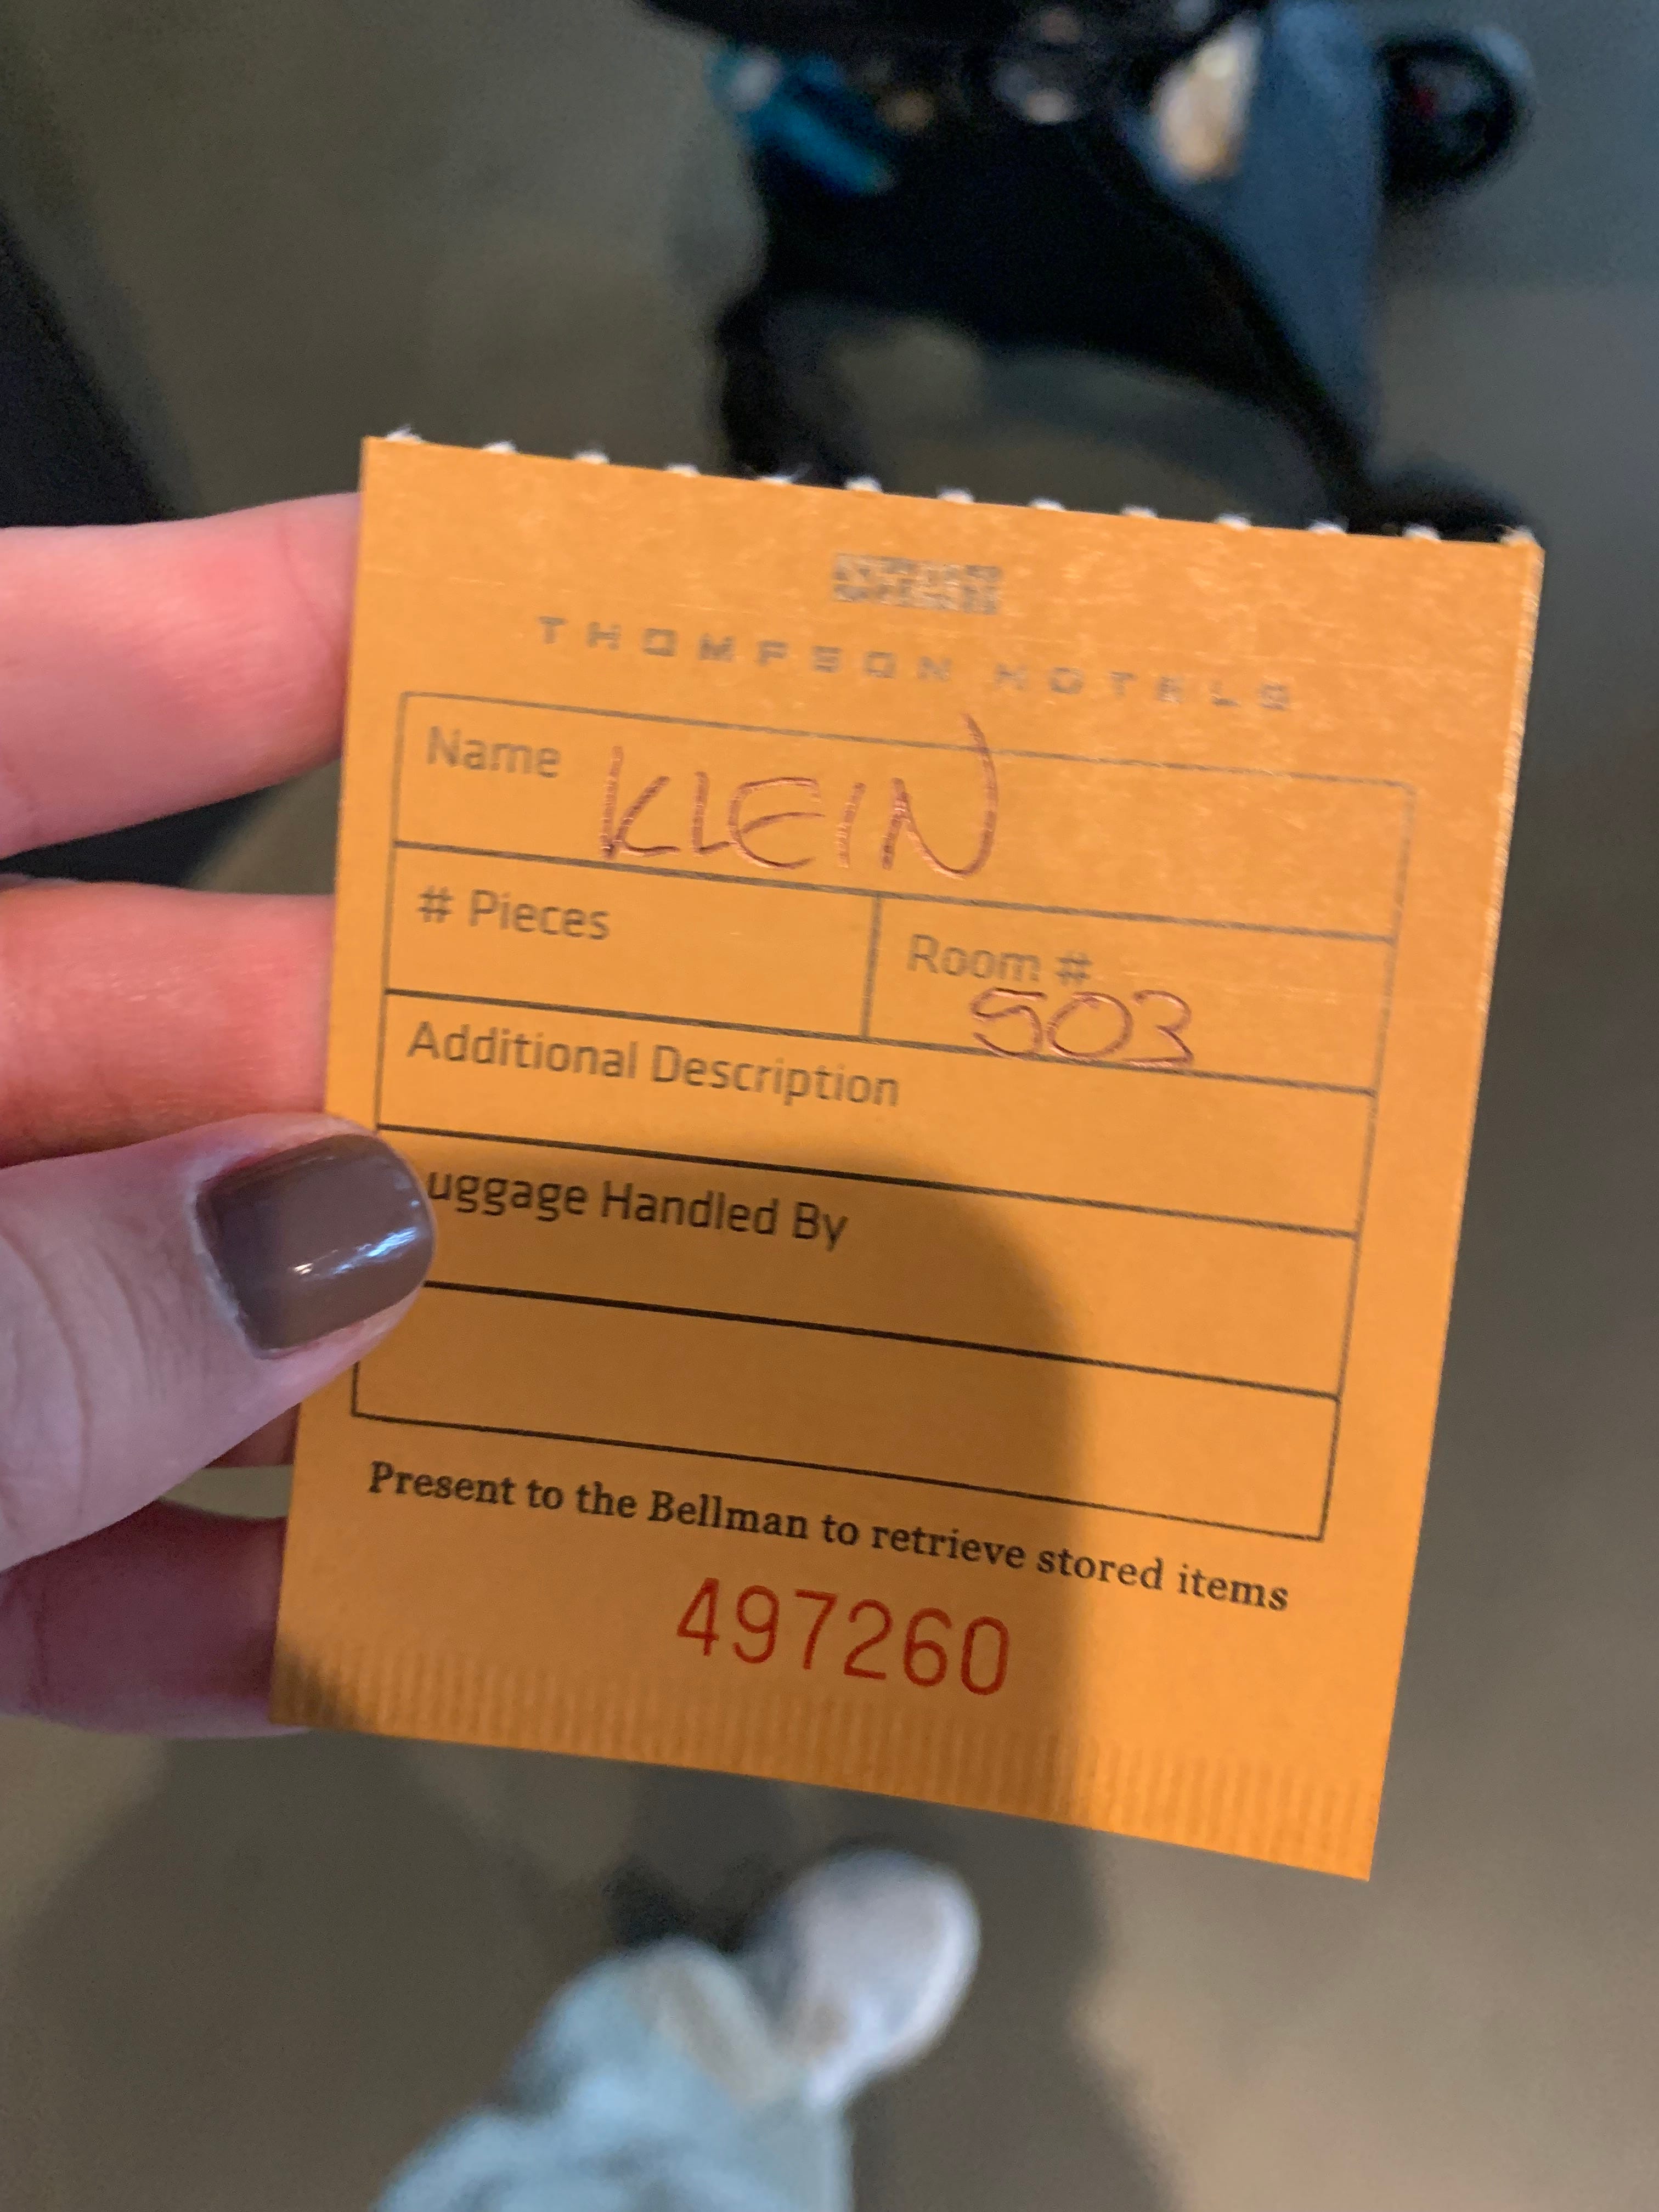
Prior to the trip, I emailed the hotel to request that they store my frozen breast milk in their freezer and upon arrival they gave me a luggage tag to retrieve it from the staff freezer whenever I needed.
I also requested that they clear out the mini fridge in our room so I would have space to store freshly pumped milk and they did so.
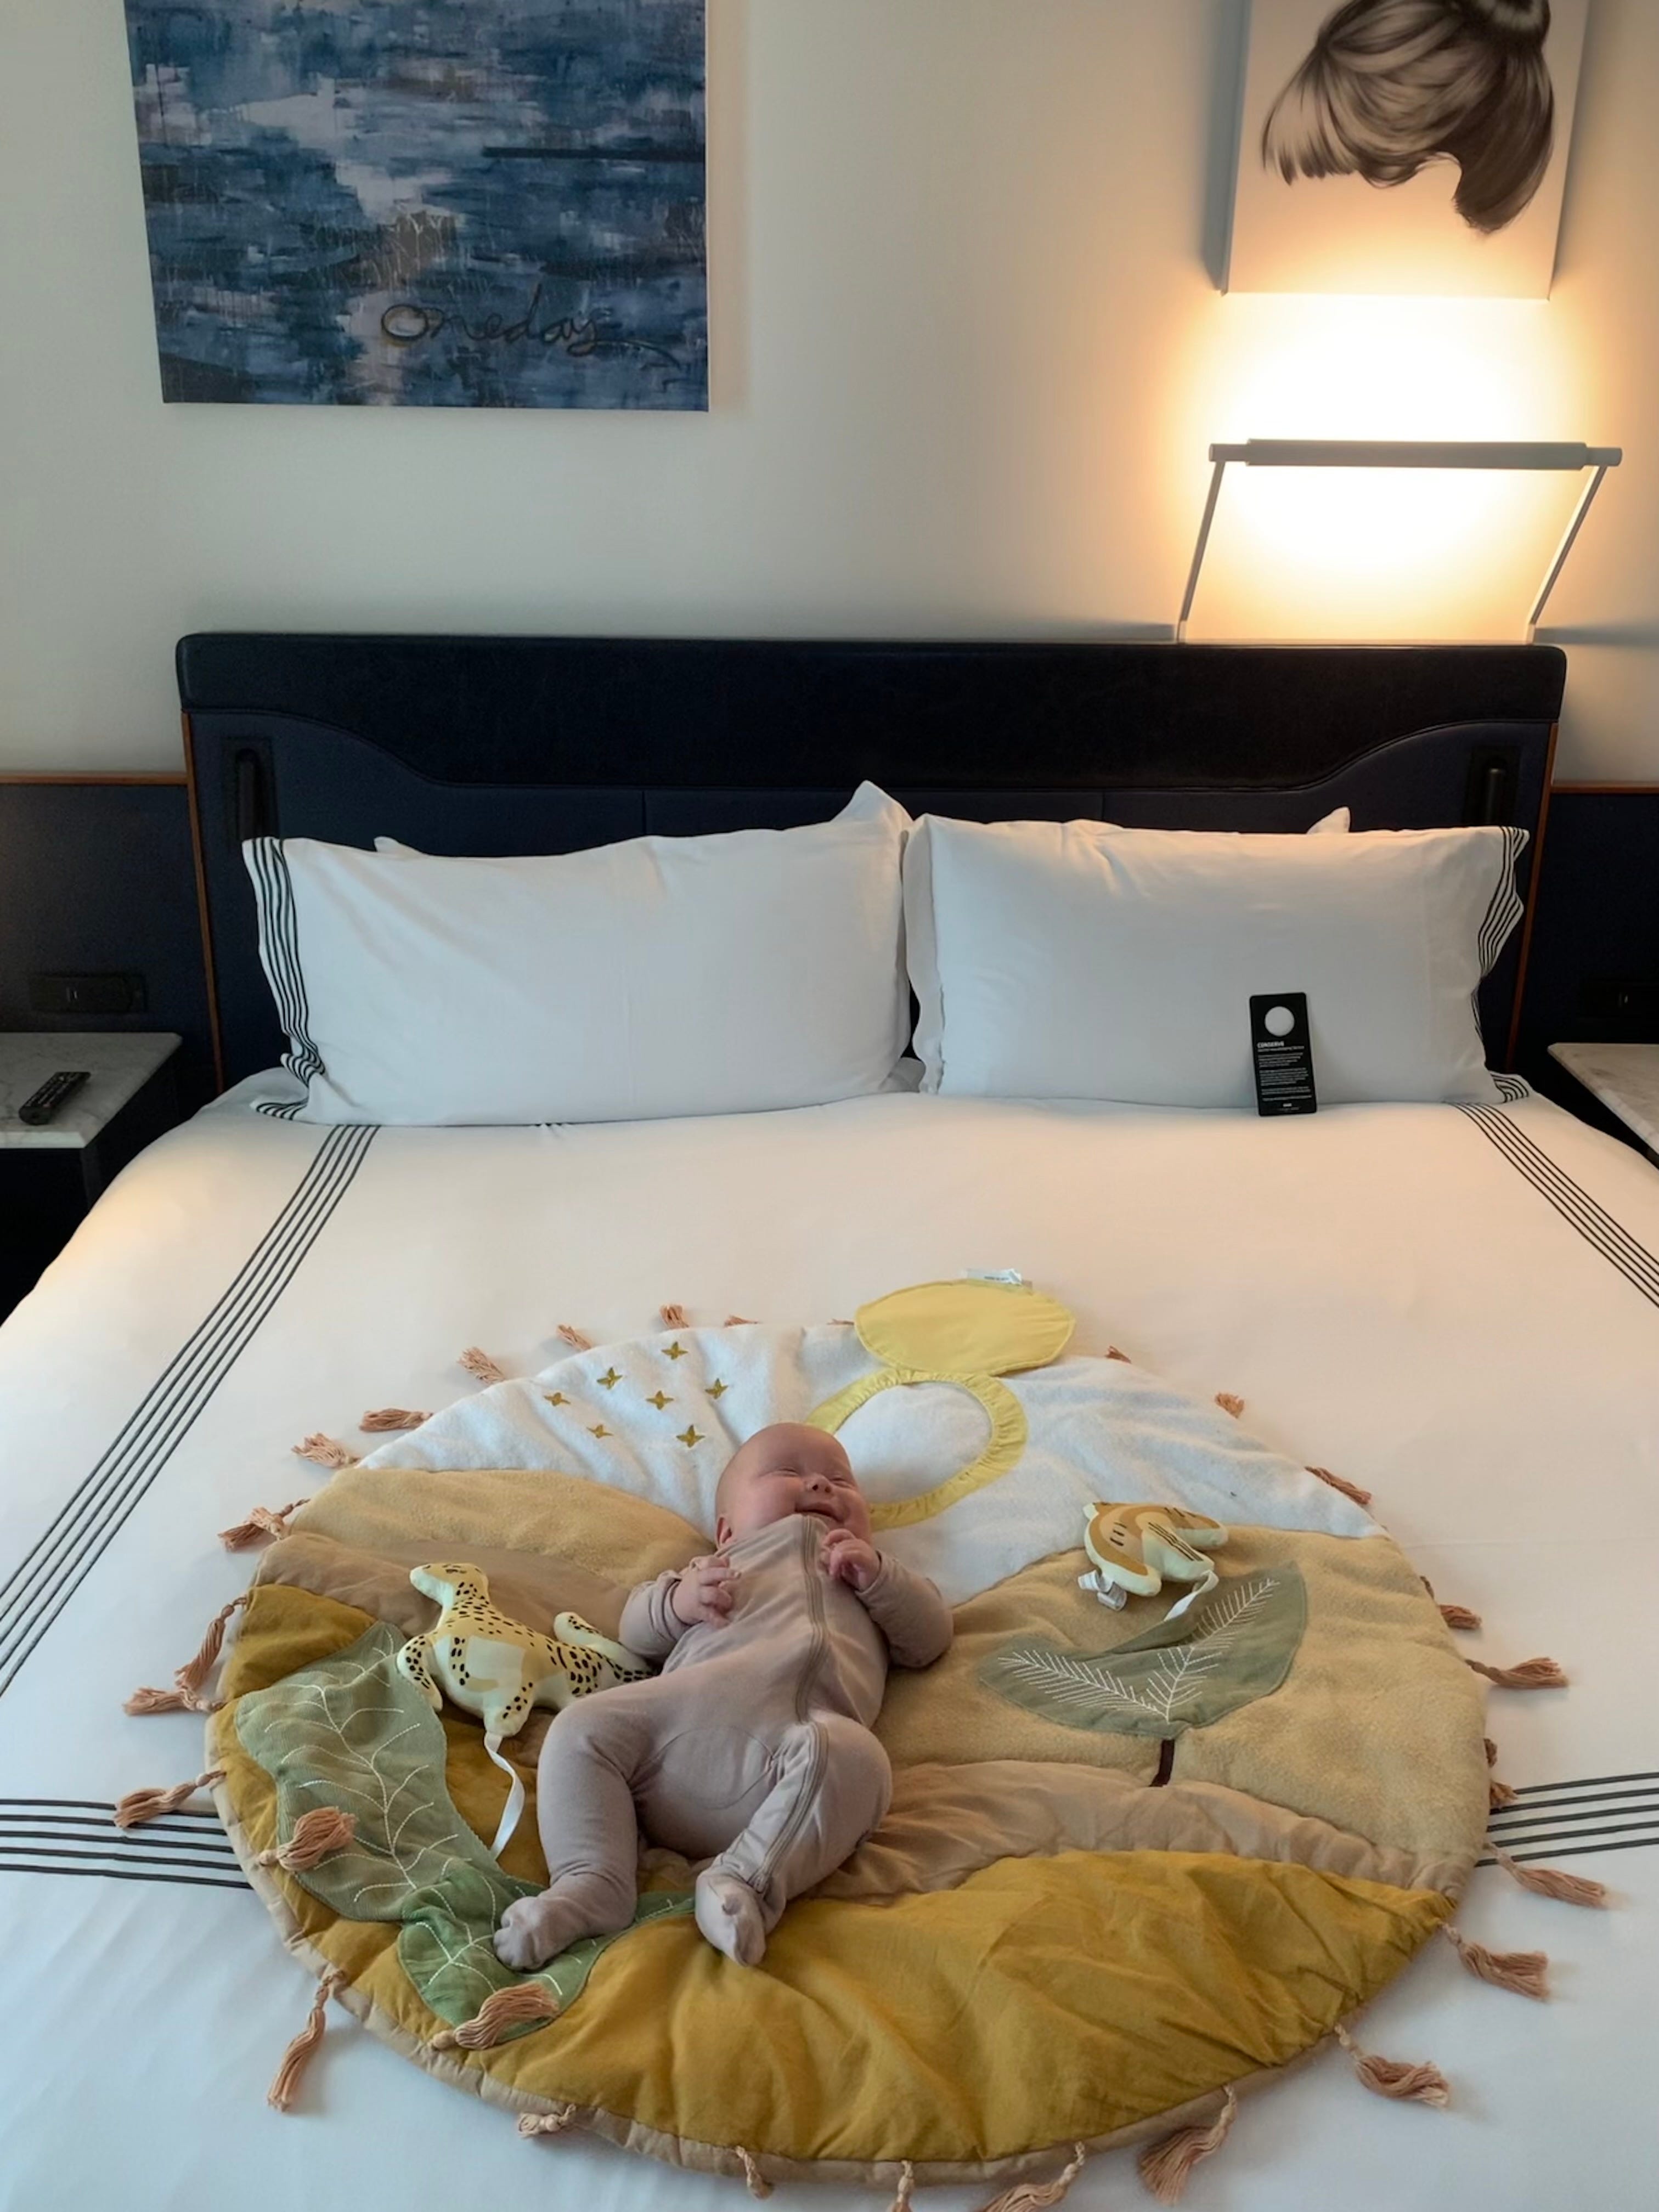
THE ROOM
Our room was a standard-sized hotel room, so it was small. Even with a small four month old baby, we had to be strategic about where to place everything as the gear made it a tight fit. Luckily we spent most of our time outside of the room as we were in town for wedding celebrations.
Here’s a photo of the room from The Thompson’s website along with where we placed the major baby items.

SLEEP SETUP
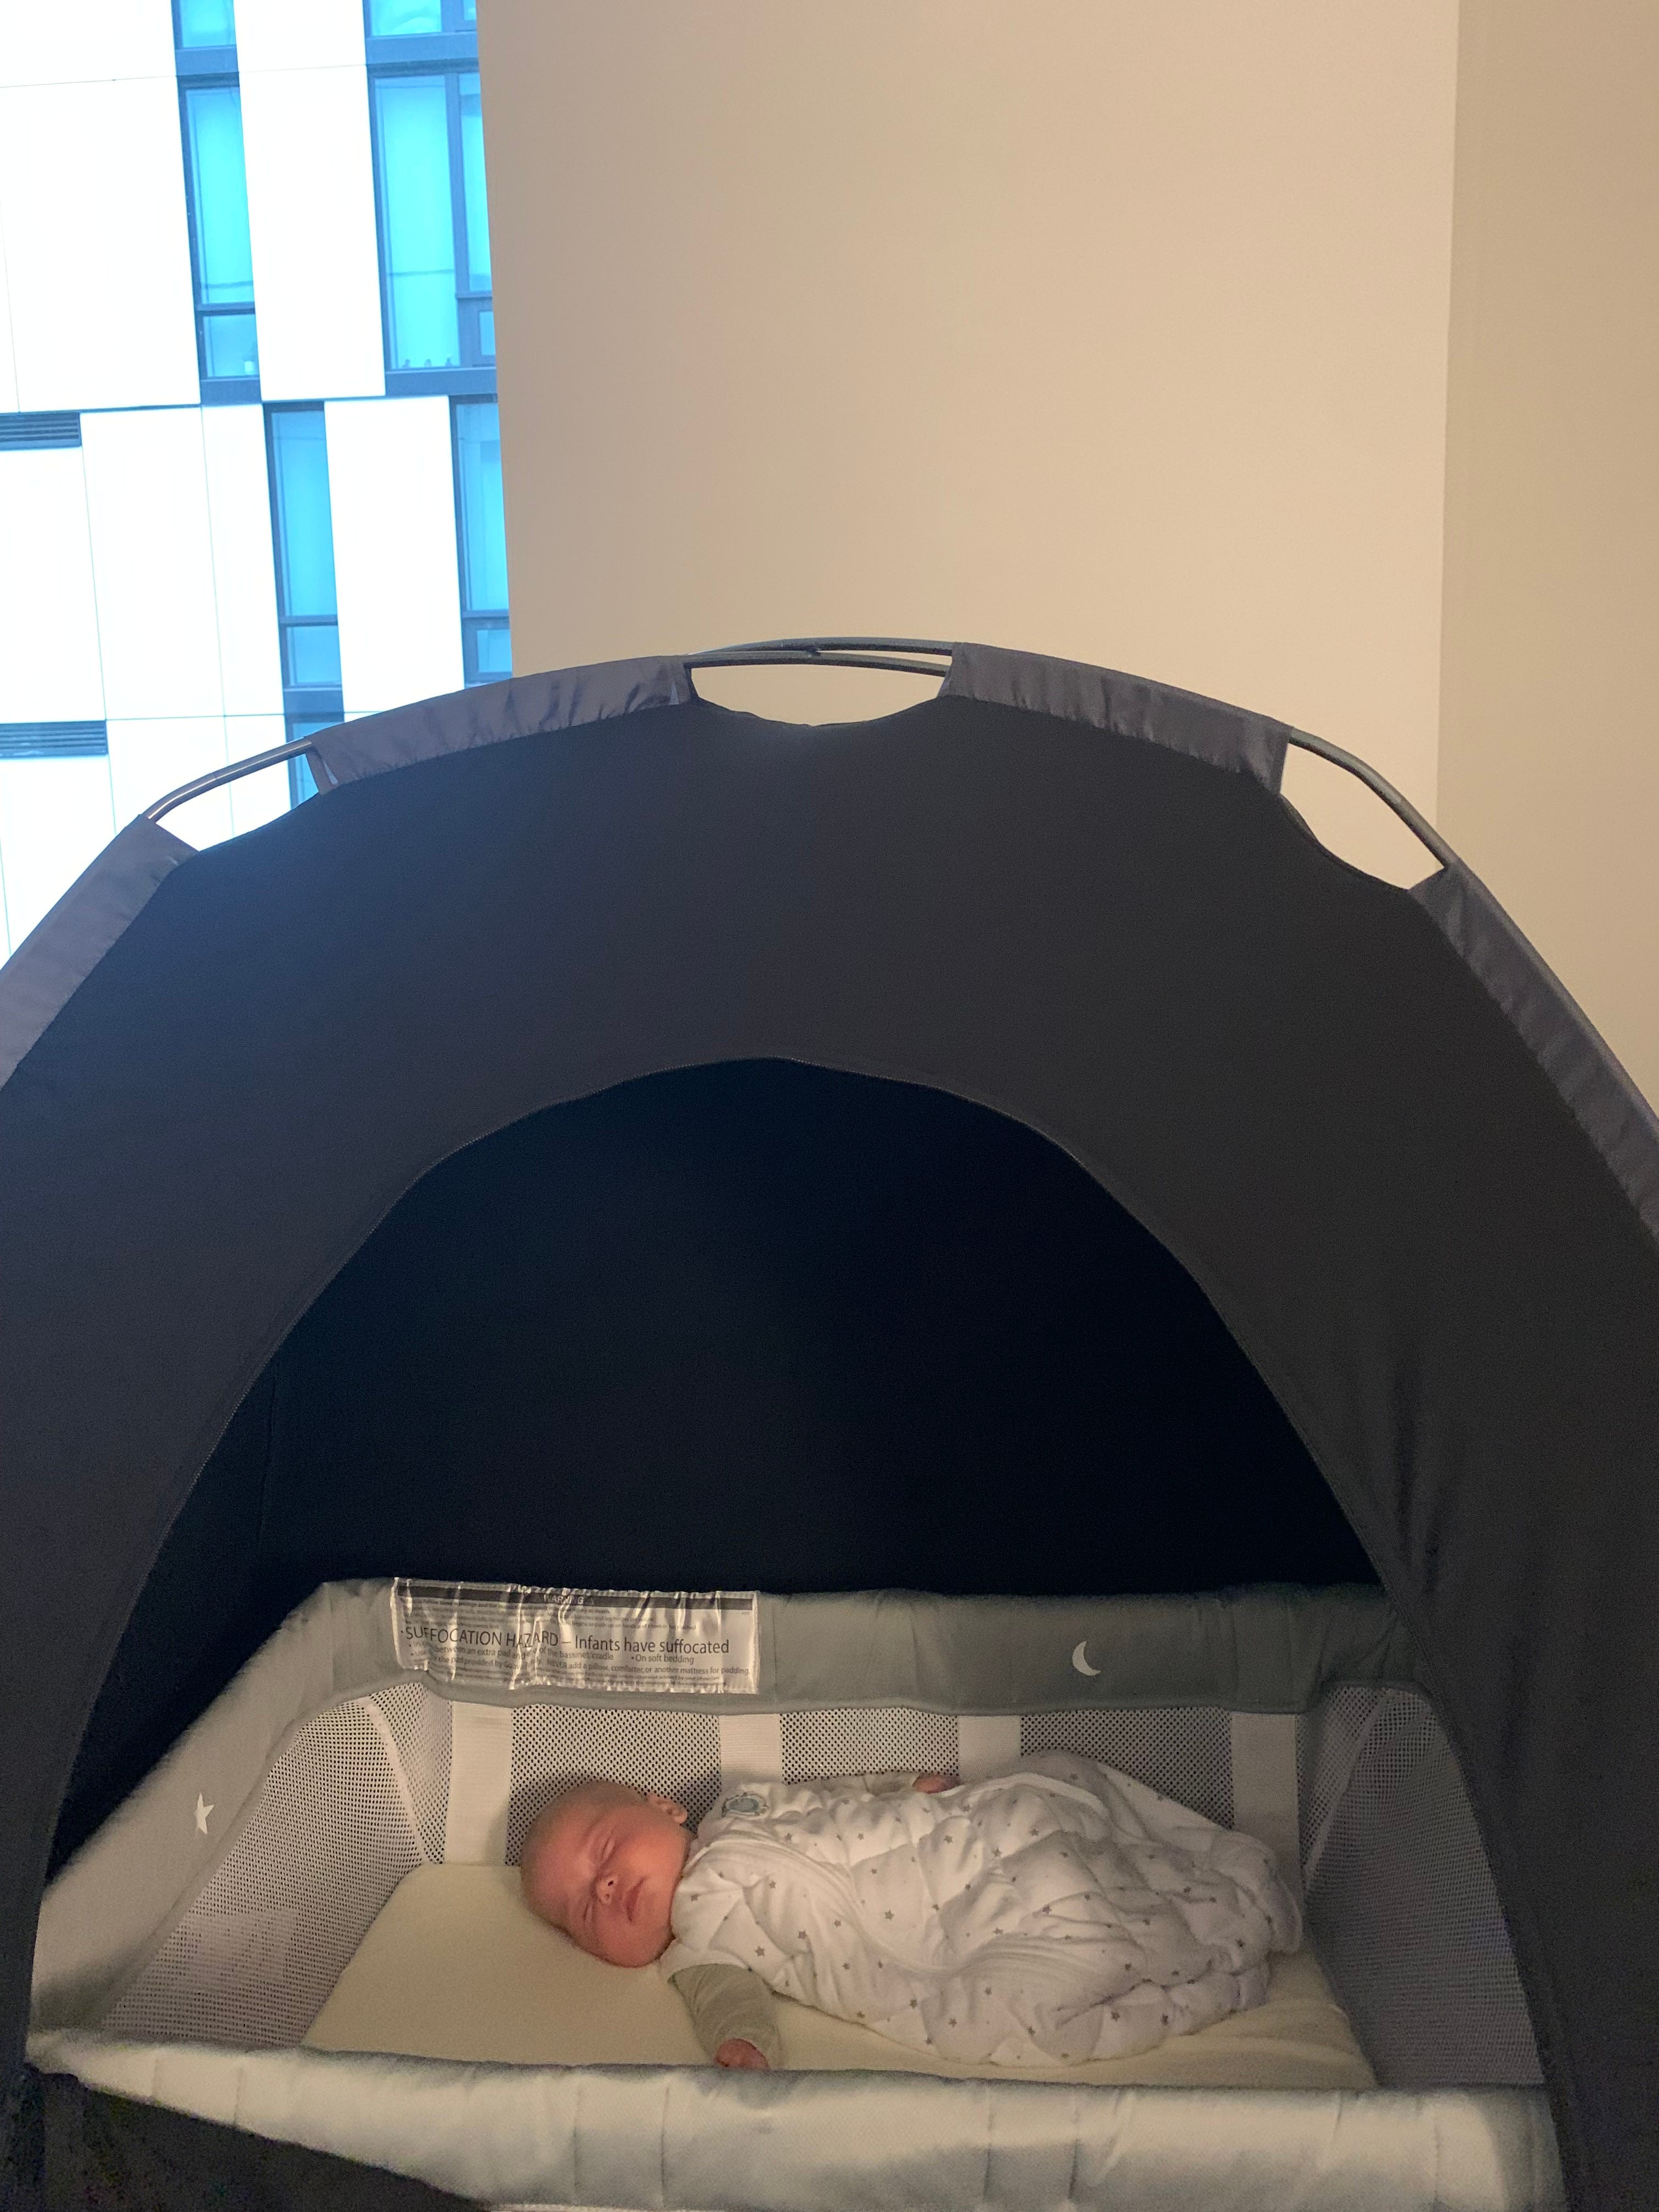
We positioned the Guava Lotus travel crib next to our bed, using the bassinet attachment at this age, and built the Slumberpod over it.
This was my first time using the Slumberpod and I did one practice build at home prior to traveling with it. You do need a bit of space to set it up because the rods are super long, but it is intuitive to build once you are familiar with the steps.
Our monitor went inside the upper Slumberpod pocket and a portable sound machine sat plugged in on the nightstand next to the bed.
While we didn’t need a monitor to hear the baby as she was within touching distance of the bed, we like to have the monitor even with the baby in the same room to confirm when she is awake and to be able to check on her without opening the Slumberpod and risk waking her up.
FEEDING SETUP
As with most hotel stays, we used the bathroom for bottle washing.
This setup is not ideal as it takes up the majority of the bathroom counter space and the sanitary level is questionable, but it tends to be the best option in this type of space. We actually lost an important connector piece for our portable bottle warmer somewhere in this hotel bathroom that was never recovered because it was so over-crowded.
This bottle cleaning inconvenience actually became a factor in our decision to start staying in Airbnbs with kitchens, versus hotel rooms, as we continued to travel throughout my daughter’s first year. More to come on this in future editions.
In the room, the empty space on top of the mini fridge and the desk were used to store clean bottles and pump parts.
As I pumped, we bottled the milk and fed the baby the milk in the fridge from oldest to newest. We used a portable bottle warmer as she needed her milk warmed at this age.
Note: I brought a full day’s worth of frozen breastmilk to Seattle (I had a large stash as I had pumped for a month while the baby was drinking minimal amounts in the NICU) and in retrospect this was not needed for our purposes. I wanted the frozen milk as an insurance policy for the first time we were traveling, but we didn’t end up using any of it as she drank what I pumped and ultimately we had to transport all of it back home still frozen.
DIAPER SETUP
We stacked several soft surfaces on top of the king-sized bed to create a portable changing area. First, a play mat. Then, a portable changing pad. Then, a disposable doggy pad.
This can also be done on the floor but I find it easier to have some height and use the bed for changing, especially at an age where the baby won’t roll or wiggle around very much.
BATHING SETUP
This hotel bathroom only had a shower. We were not bathing the baby every day at this point so it was not a huge issue for us.
That said, when the baby had a major blow out late one night, we did have to get into the shower while holding her to rinse her off. This was a slippery endeavor that we have since gotten better at, having staying at more hotels that do not have baths. It should be stated that showering a small baby is a super slippery two-person job.
THE PACKING LIST
I organize my packing lists by bag. I highly recommend this method. Frankly, I find it annoying when travel creators offer a free packing list in exchange for your email address but the packing list ends up being a PDF that is not set up in a way anyone can make use of! Creating a packing list by bag keeps the process organized on the way out the door and also helps with re-packing upon leaving the destination, when you are inevitably trying to remember how you made everything fit and account for all items.
I build packings lists with check boxes in google docs. This way I can share the list with my husband and easily reference it on my phone or computer. I check off every line when we depart and then once we arrive, I reset the check boxes. This way I can go through the same process of checking off the list when we pack up to go home.
Here is the link to Carry On's 0-6 Month Old Packing List in google docs. Feel free to make a copy and edit it to fit the needs of your trip.

WHAT I WISH I KNEW
This was our first time flying with the baby and I wanted to make sure we had everything we needed. When flying with a child, you can bring several additional items with you for free. A diaper bag and a pump bag can be taken in addition to your normal carry on + personal item allowance, at no cost. Many airlines allow you to check a car seat and stroller for free as well.
While these exceptions are useful, it’s important to consider how much stuff you can physically carry. Imagine walking down a plane aisle holding five bags. Even though you are technically allowed to bring more bags, make sure that it is possible for you to carry them (plus a baby) through the airport and to your destination.
I am an over-packer of the “just in case” variety and the first year of traveling with my daughter has been an ongoing exercise in minimalism.


Questions about traveling with a four month old baby?
New to Carry On? Check out the archive where most recently I wrote about “Why We Travel” with Kids.
If you know a cool parent or future parent who loves to travel, consider forwarding them this email :) If you want to join 88 other readers learning about traveling with kids, subscribe below:
Thanks for reading,